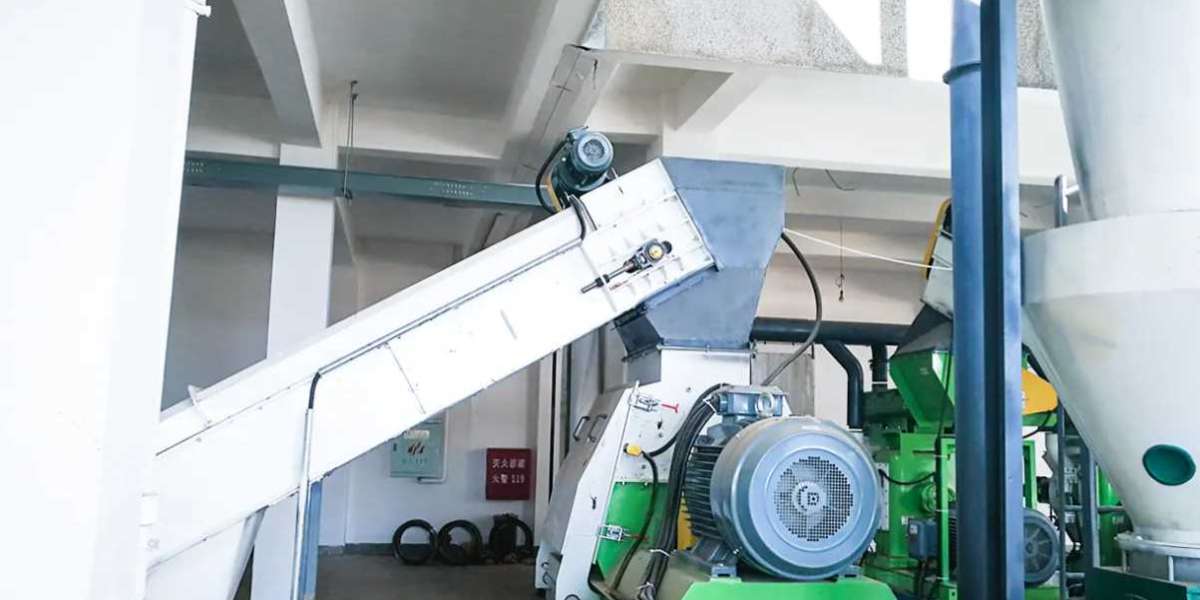
Adjusting the settings or configurations of a wood hammer machine, also known as a wood splitter or log splitter, involves several steps to ensure optimal performance and safety. Here's a general guide to help you through the process:
1. **Safety First**: Before making any adjustments, ensure the machine is turned off and unplugged or disconnected from the power source to prevent accidental start-up.
2. **Read the Manual**: Consult the operator's manual that came with your wood hammer machine for specific instructions related to your model. Different machines may have different features and safety protocols.
3. **Inspect the Machine**: Check for any visible damage or wear before making adjustments. Damaged parts should be repaired or replaced before operating the machine.
4. **Adjusting the Splitting Force**: Some wood splitters allow you to adjust the splitting force. This is typically done by changing the position of the ram or by adjusting a pressure setting on a hydraulic splitter.
5. **Changing the Direction of the Ram**: If your machine has a reversible ram, you can change the direction for even wear or to suit your splitting needs. This usually involves unlocking a pin or lever and flipping the ram around.
6. **Setting the Wedging Position**: The position where the log is held against the splitting force can often be adjusted. This is important for controlling the direction in which the wood splits.
7. **Adjusting the Height of the Splitter**: Some models allow you to adjust the height of the splitting table to accommodate logs of different lengths.
8. **Hydraulic Settings**: If your splitter is hydraulic, there may be a control panel where you can adjust the flow rate and pressure of the hydraulic system.
9. **Oil Level Check**: Ensure that the hydraulic oil level is correct. Low oil can lead to poor performance and potential damage to the machine.
10. **Wheels and Mobility**: If your splitter has wheels, check that they are properly inflated and aligned for easy movement.
11. **Maintenance**: Regularly check and maintain all moving parts, such as the ram, cylinder, and hydraulic hoses. Lubricate as necessary according to the manufacturer's recommendations.
12. **Electrical Components**: If your splitter is electric, check the wiring and connections for any signs of wear or damage. Ensure that the motor is clean and free of debris.
13. **Test the Machine**: After making adjustments, perform a test run with the machine to ensure that it is operating as expected. Start with a small piece of wood to verify the settings.
14. **Training**: If you're new to operating a wood hammer machine, it's a good idea to get trained by someone experienced or follow a training video provided by the manufacturer.
15. **Record Keeping**: Keep a record of all adjustments and maintenance performed on the machine. This can be helpful for troubleshooting and for keeping track of when parts may need to be replaced.
Remember, the specific steps to adjust your wood hammer machine will depend on the make and model, so always refer to the manufacturer's instructions for the most accurate information. If you're unsure about any adjustments, it's best to consult with a professional or contact the manufacturer's customer service for assistance.