A fresh coat of paint can completely transform the look and feel of your home—but only if it’s applied the right way. Rushing into a paint job without a clear plan often leads to uneven results, wasted paint, and unnecessary frustration. That’s why professional painters follow a logical, top-down order that makes the process smoother, cleaner, and more efficient. This detailed guide will walk you through each step, just like trusted do—ensuring every wall, corner, and ceiling gets the professional touch it deserves.
1. Start With Planning and Preparation
Choose Your Paint Wisely
Before picking up a brush, take time to choose the right paint color, sheen, and type for each room. Bedrooms and living rooms often look best in matte or eggshell finishes that soften light, while bathrooms, kitchens, and hallways benefit from satin or semi-gloss finishes that are easier to clean. Choose paint based on lighting, room function, and durability needs.
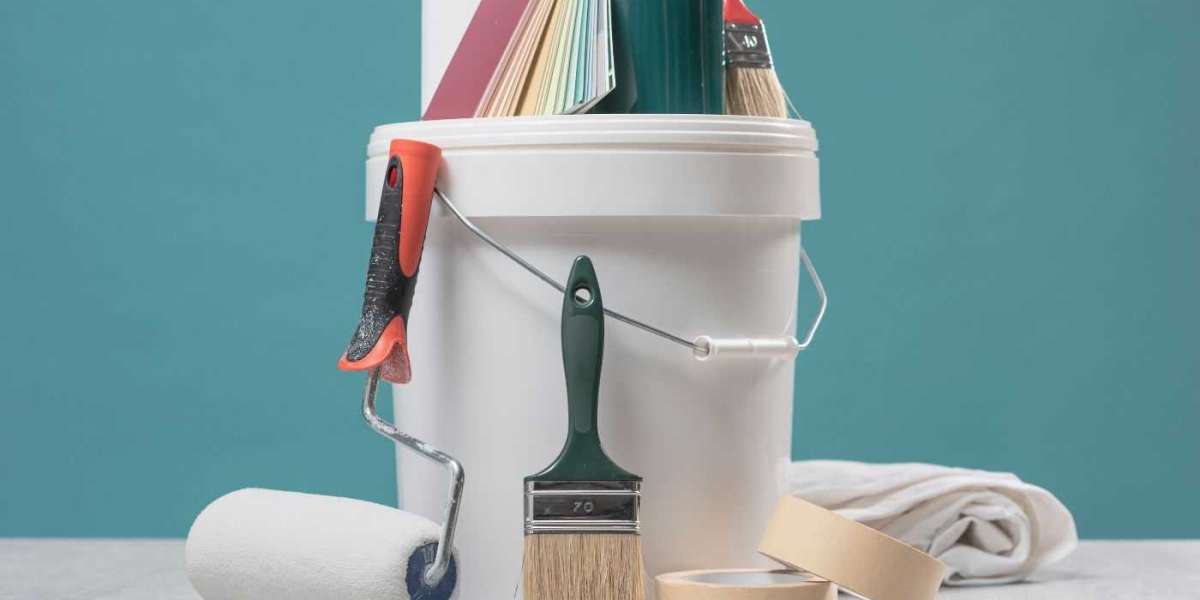
Gather Supplies
Make a checklist of everything you’ll need:
Paint (and primer, if needed)
Angled brushes and high-quality rollers
Drop cloths and painter’s tape
Paint tray and liners
Sandpaper and patching compound
Ladder and extension pole
Cleaning rags and a vacuum
Having everything on hand minimizes mid-project interruptions.
Prep the Room
Remove furniture or move it to the center of the room and cover it with plastic or cloth.
Protect floors using drop cloths. Tape edges securely so nothing shifts during painting.
Remove outlet covers, switch plates, curtain rods, and light fixtures if possible.
Clean walls thoroughly with mild soap and water. Dirt, grease, or residue will prevent paint from adhering properly.
Patch holes or cracks with spackle or joint compound. Once dry, sand until smooth and dust-free.
This foundational step is often what separates a high-end finish from a rushed DIY job.
2. Priming—The Unsung Hero
Not every wall needs primer, but when it’s necessary, skipping it can cause major problems. Use primer if:
You’re covering a dark or bold color with a lighter shade
The surface is patched, stained, or uneven
You’re painting over glossy or oil-based paint
The walls are raw materials (like new drywall, plaster, or bare wood)
Primer helps create an even base, seals porous surfaces, and enhances paint adhesion. This leads to fewer topcoats and better long-term durability. Professionals often tint primer slightly to match the final color for even better coverage.
3. Follow a Top-Down Painting Order
Following the correct sequence not only looks better but makes cleanup easier and reduces mistakes.
A. Paint the Ceiling First
Start with the ceiling to avoid paint splatter on freshly painted walls. Use a roller with an extension pole and paint in long, overlapping strokes. Cut in with a brush around corners, light fixtures, and vents.
B. Move to Crown Molding and Trim
Next, paint crown molding and upper trim. These often require smaller brushes and a steady hand. Using painter’s tape can help maintain clean lines. Allow trim paint to dry completely before taping off to begin wall painting.
C. Tackle the Walls
Once the ceiling and upper trim are dry, move to the walls. Begin by cutting in around edges, baseboards, doors, and windows using an angled brush. Then use a roller to fill in the main wall surfaces. Work in sections, maintaining a wet edge to avoid lap marks. Paint from top to bottom to catch drips and smooth them as you go.
Most walls require two coats for consistent color and coverage. Allow the first coat to dry completely before starting the second.
D. Finish With Baseboards and Window Trim
After the walls are dry, complete the job by painting baseboards, door frames, and window casings. These areas are close to the floor and prone to scuffs, so a durable semi-gloss finish is often recommended.
Remove painter’s tape while the paint is still slightly tacky for the cleanest edges.
4. Real-World Example: Interior Refresh in Bellingham, WA
The Challenge:
A family in Bellingham had recently renovated their open-concept living and dining space. The existing paint was outdated and marked with wear from years of kids and pets. They hired Bellingham WA local painting contractors to give the area a clean, modern refresh with minimal disruption to their daily life.
The Process:
The contractors began by moving furniture, masking floors, and patching years of dents and holes.
Stained ceiling areas were treated with a stain-blocking primer.
The ceiling was painted a bright flat white to reflect more light.
Trim and crown molding were painted next in a high-performance semi-gloss.
Walls were painted last in a soft gray tone using two full coats with precision-cut edges.
Final touch-ups and cleanup left the space looking brand new.
The Results:
A flawless finish with no streaks or bleeding
Trim details that popped against the wall color
Zero furniture damage or paint splatter
The family was able to use the space again in just over 48 hours
This structured approach—built around preparation, logical sequencing, and skill—delivered a result the homeowners described as “better than brand new.”
5. Clean Up and Final Touches
No paint job is complete without a solid cleanup:
Carefully remove tape while the paint is slightly damp to avoid peeling.
Touch up any missed spots or edges using a small brush.
Clean your tools immediately after use—latex paints clean with water, oil-based paints need solvent.
Store leftover paint for future touch-ups. Label cans with room names and dates.
After everything is dry, reinstall outlet covers, move furniture back, and enjoy your freshly painted space.
6. Benefits of Hiring Bellingham WA Local Painting Contractors
Hiring local professionals comes with a range of benefits:
Expert surface preparation: They know how to handle Bellingham’s moisture-prone climate.
Correct paint selection: Including VOC-compliant and eco-friendly products suited to the Pacific Northwest.
Time savings: Projects that take homeowners a week are often finished in just a few days.
Clean, detailed work: From cutting sharp lines to fast, efficient cleanup.
Guaranteed results: Trusted local painting contractors offer warranties and stand behind their work.
If you want the job done quickly and with professional quality, hiring a team with local experience is a smart investment.
FAQs
Q: What’s the best order for painting a room?
Start with the ceiling, then crown molding or upper trim, followed by the walls, and finish with baseboards and door/window trim.
Q: How long should I wait between coats of paint?
Typically 2 to 4 hours, depending on temperature, humidity, and paint type. Always check the label for exact recoat times.
Q: Do I need to sand walls before painting?
Light sanding after patching or before painting glossy surfaces helps paint stick better. It also removes rough spots for a smoother finish.
Q: Can I just paint over the old color?
Yes, if the previous paint is in good condition and similar in tone. Otherwise, primer will help cover the old color and provide a smoother base for new paint.
Conclusion
Painting your interior doesn’t need to be overwhelming. When approached in a logical order—planning, prep, ceiling, trim, walls, and finally baseboards—you achieve faster results and a more professional finish. Whether you’re doing it yourself or hiring Bellingham WA local painting contractors like , following this structured method ensures the final look is clean, consistent, and built to last.